Introduction
Overview
When devices need to communicate using registered SIP accounts, you must deploy a SIP server and register the accounts on the devices. This document describes how to register industrial intercom devices to a PortSIP Server.
Applicable Models
All industrial intercom and SIP devices.
Prerequisite Preparation Tools
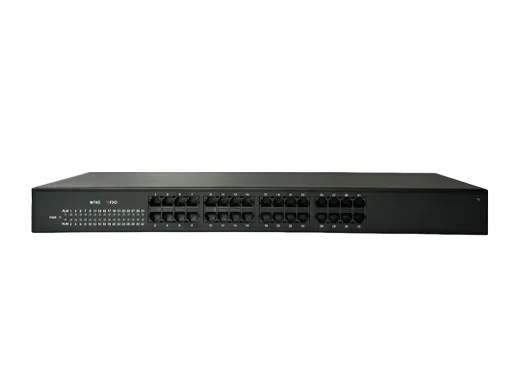
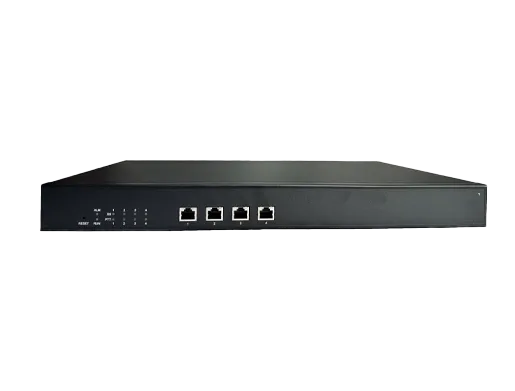
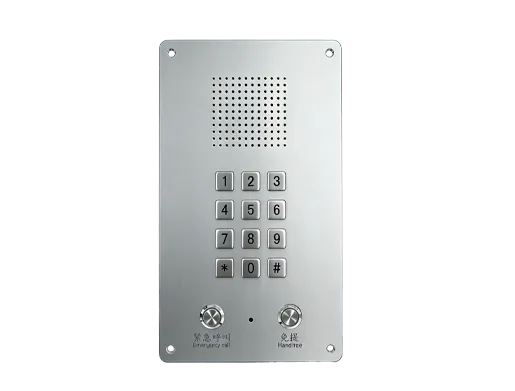
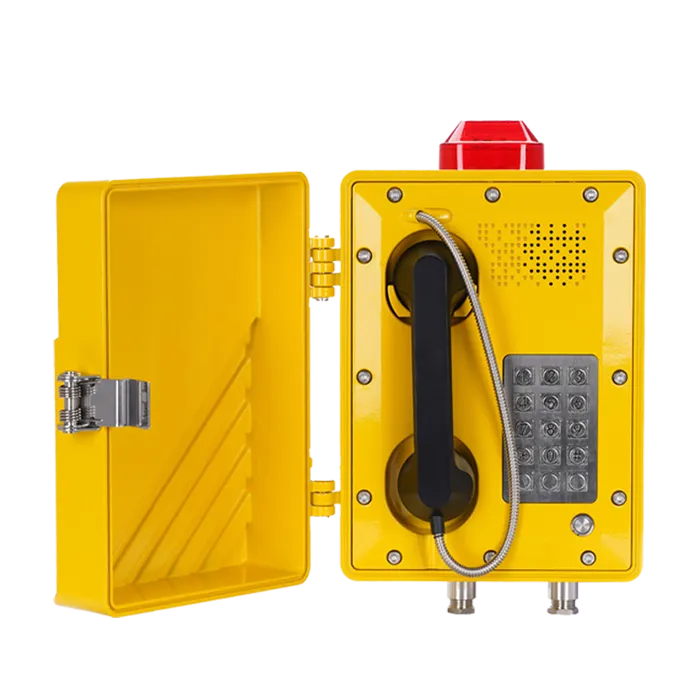
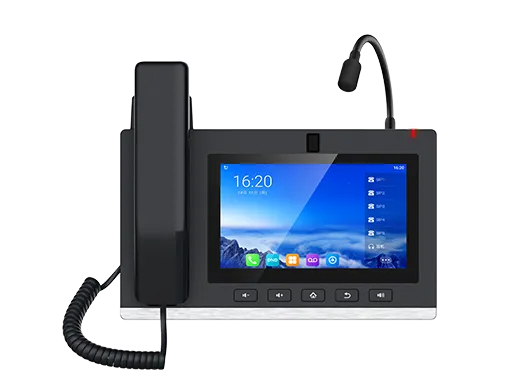
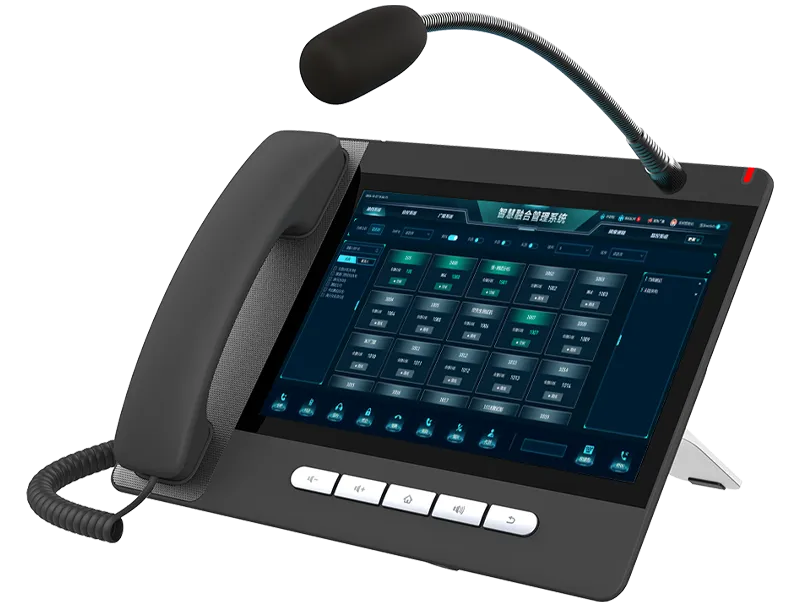
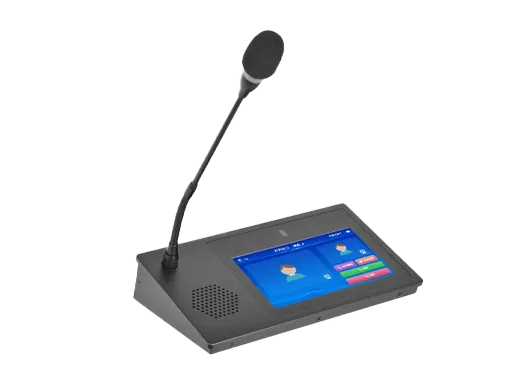
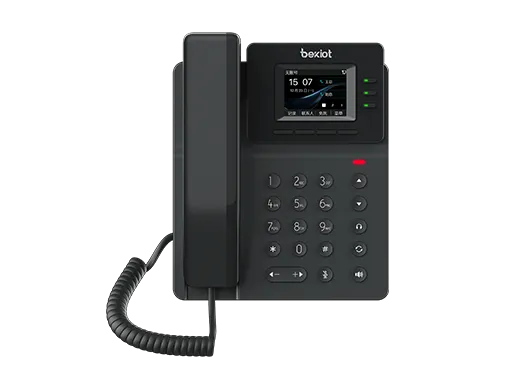
① One industrial intercom device (BHP-SOS16V as example), one PoE switch (or DC power supply), one PortSIP Server (installed on a Windows computer). Connect the device to the switch.
② One debugging computer connected to the same switch to ensure network connectivity between the computer and device.
Device and Computer Connection Diagram
Connect the BHP-SOS16V to the switch, connect the computer to the same switch, and install PortSIP Server on the computer. The connection diagram is shown in Figure 1.
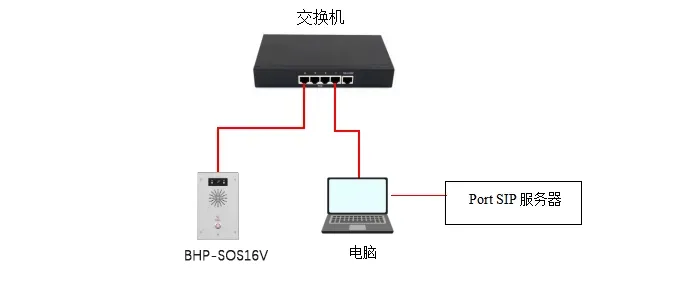
Figure 1 Device and Computer Connection Diagram
Register to PortSIP Server
To register a device to PortSIP Server, you must first set up the server environment. This guide uses a Windows-installed PortSIP Server as an example.
Create Extensions on the Server
(1) Create an extension: Log in to the server Web interface, go to Call Manager — Extensions — click Add to create a new extension.
Enter the extension number and password to complete creation.
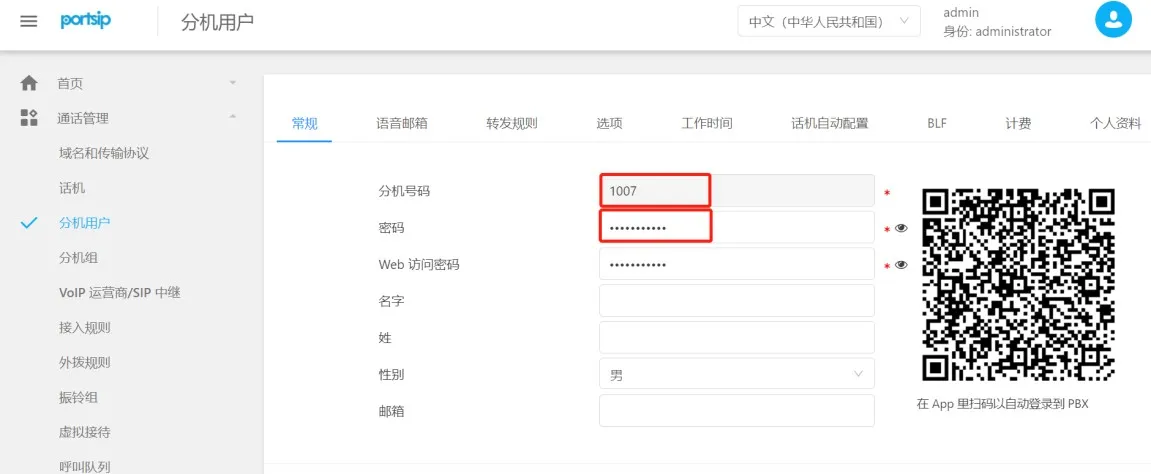
Figure 2 Add Extension Account
(2) Check domain and transport protocol: Go to Call Manager — Domains & Transports to view the SIP domain, transport protocol, and port number, as shown in Figure 3.
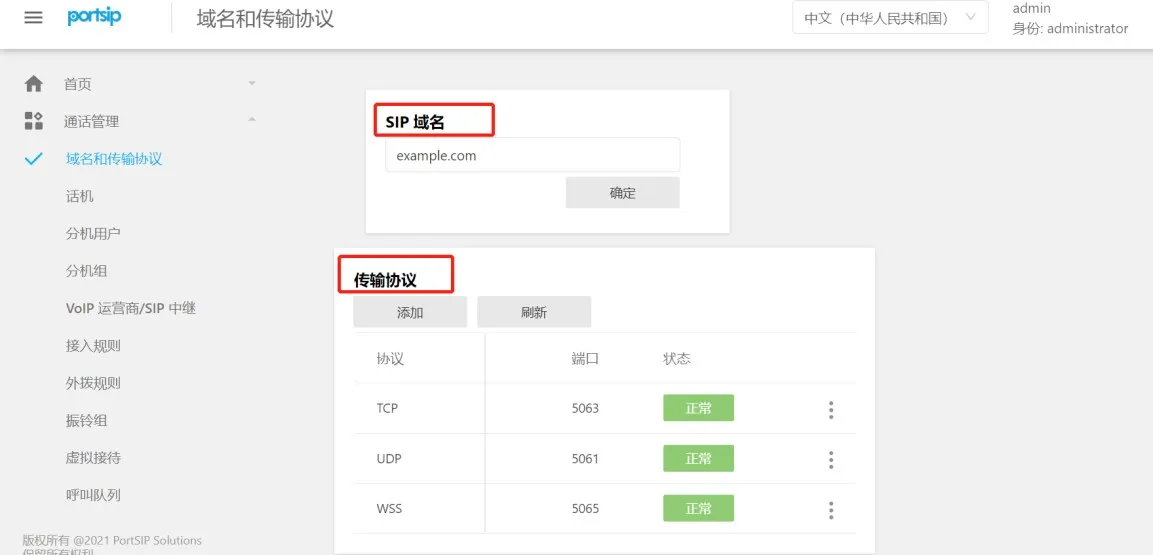
Figure 3 View Server Domain and Transport Protocol
Register the Device to the Server
After creating the extension on the server, configure the device to register. Steps are as follows:
(1) Log in to the device: Enter the device IP address in a browser, log in with username and password (default: admin/admin).
(2) Go to the device Web UI: Line — SIP — Registration Settings, configure as shown in Figure 4:
- ① User Name, Authentication ID, Password: Use the extension number and password created on PortSIP Server;
- ② Server Address: Enter the PortSIP SIP domain;
- ③ Server Port & Transport: Enter the port and protocol (UDP as example);
- ④ Proxy Server & Port: Use the static IP of the PortSIP computer and matching port.
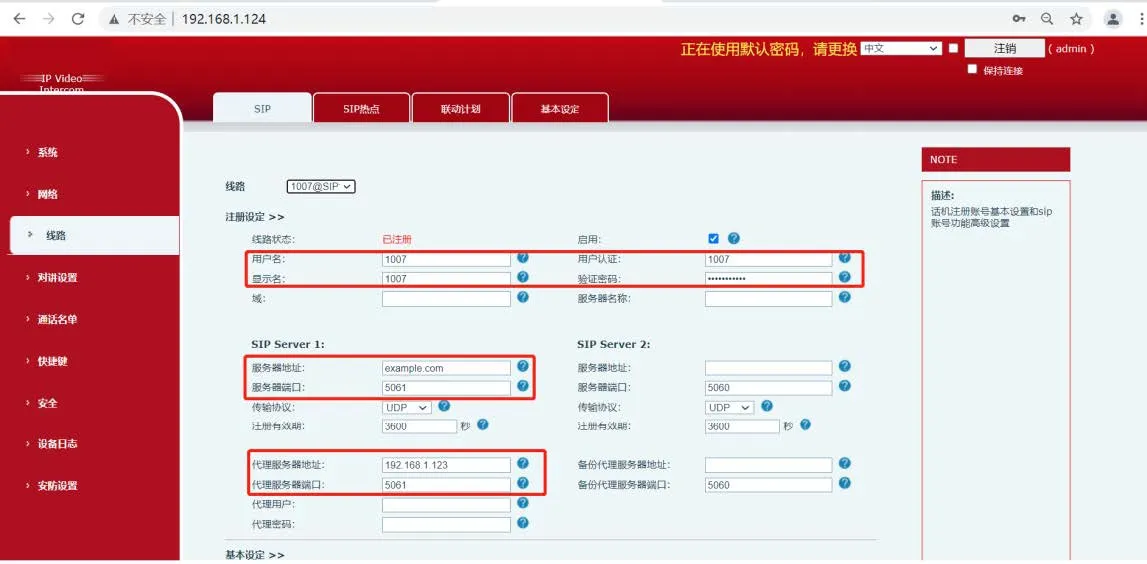
Figure 4 SIP Registration Diagram
(3) After entering the information and ensuring network connectivity, the device Line Status will change to Registered, meaning the device is successfully registered to the SIP server.