Introduction
Overview
uaCSTA is a CTI standard developed by ECMA, evolved from CSTA, based on SIP protocol and XML.
Target Audience
This document is intended for customers or testers who want to quickly understand uaCSTA applications.
Glossary
- uaCSTA: User Agent Computer Supported Telecommunications Applications
- CSTA: Computer Supported Telecommunications Applications
- ECMA: European Computer Manufacturers Association
uaCSTA Connection Modes
uaCSTA uses SIP protocol to enable CTI remote connection and management of SIP phones:
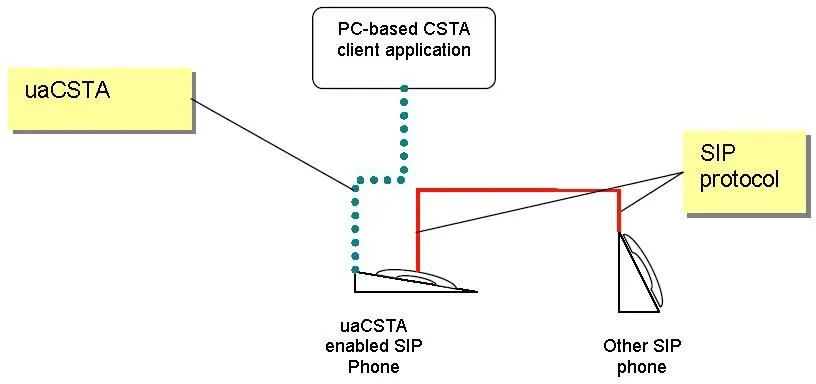
Figure 2.1
OR
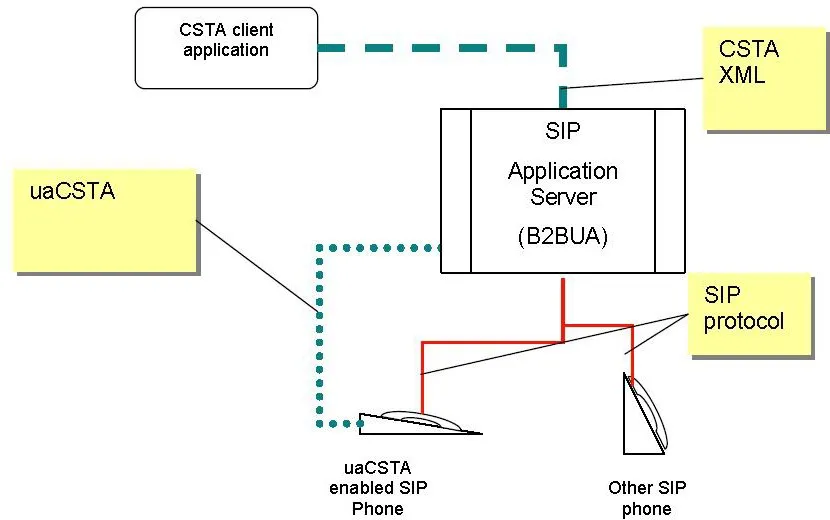
Figure 2.2
The uaCSTA server and SIP phone establish a connection via SIP INVITE messages and exchange control information through INFO messages:
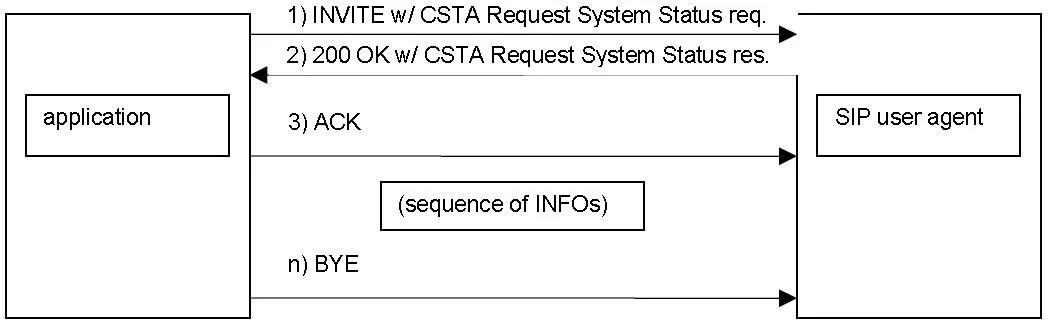
Figure 2.3
Enter the line number to be controlled by uaCSTA; the entered number binds that line. (For 3CX servers, uaCSTA uses the same line as the call account registration.)

Figure 2.4
Configuration Instructions
Web UI Configuration
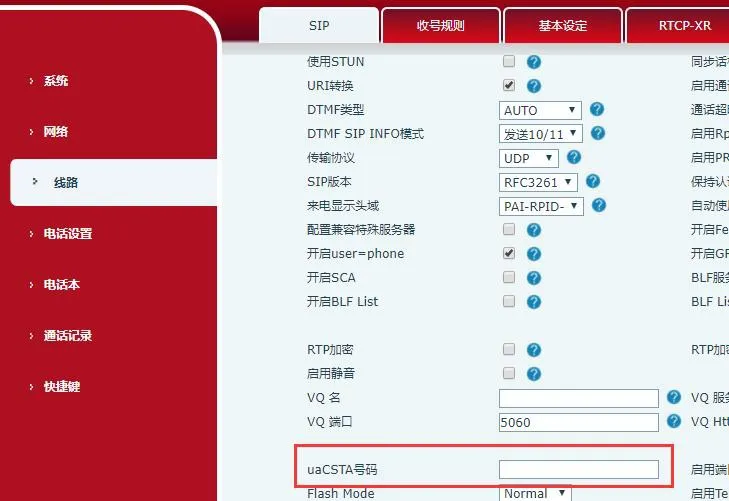
Figure 3.1
Enter the line number to be controlled by uaCSTA; the entered number binds that line. (For 3CX servers, uaCSTA uses the same line as the call account registration.)
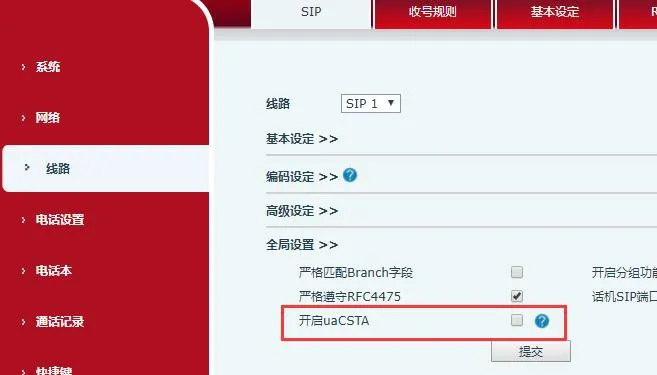
Figure 3.2
Toggle to enable or disable the uaCSTA feature.
TXT Configuration Parameters
CSTA Enable: 0
0 = Enable uaCSTA; 1 = Disable uaCSTA
SIP1 CSTA Number: The registered number for normal calls
Dot-Notation Configuration Parameters
sip.CSTAEnabled
sip.line.1.CSTANumber
Usage Instructions
Configuration Steps
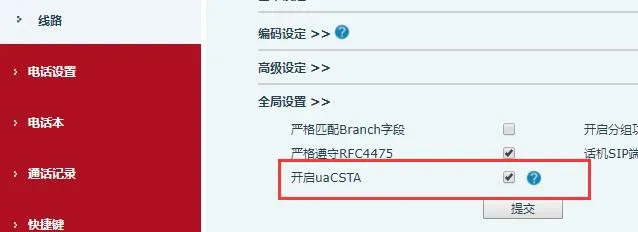
Figure 4.1
Enable uaCSTA
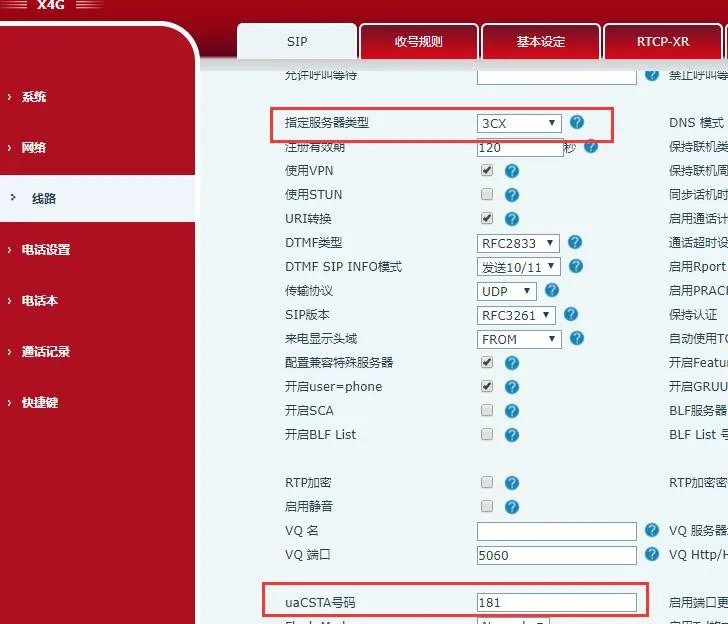
Figure 4.2
Enter the registered number in uaCSTA Number and select 3CX as the server type.
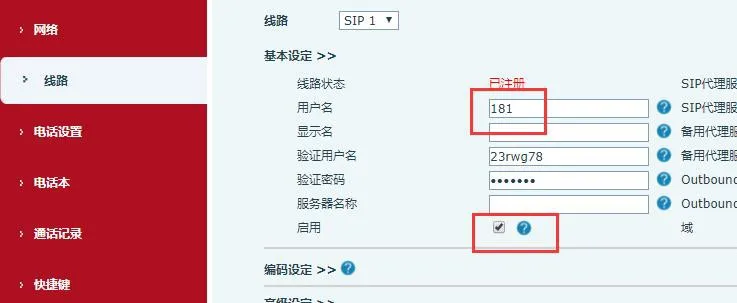
Figure 4.3
Packet Capture
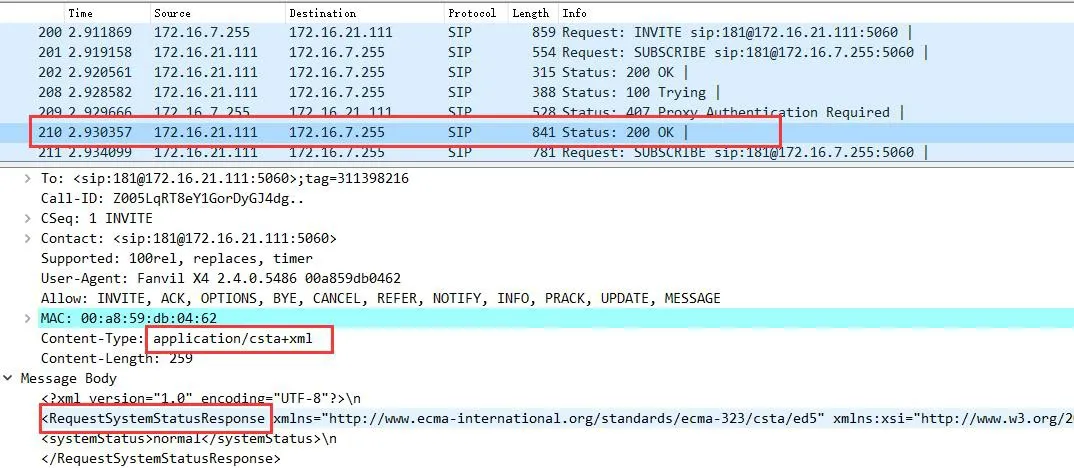
Figure 4.4
After successful registration, the server sends an INVITE request to establish a uaCSTA connection with the phone.
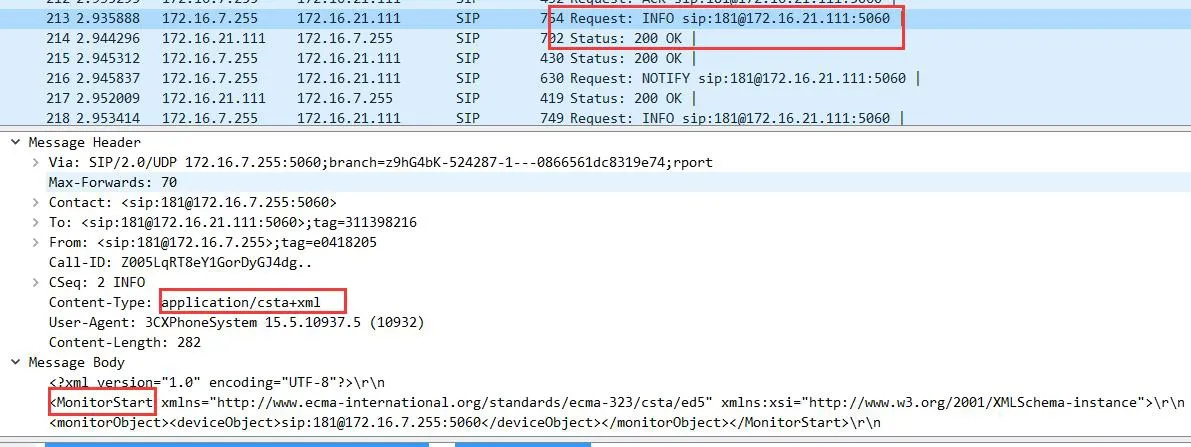
Figure 4.5
The phone replies with 200 OK, connection established.

Figure 4.6
The server sends MonitorStart to begin monitoring, and the phone replies 200 OK. All information exchange between the uaCSTA server and the phone is done via INFO packets.
Client Usage
Client Login: Find the registered account under the server extension. There is a web authentication link; click it to log in to the client.
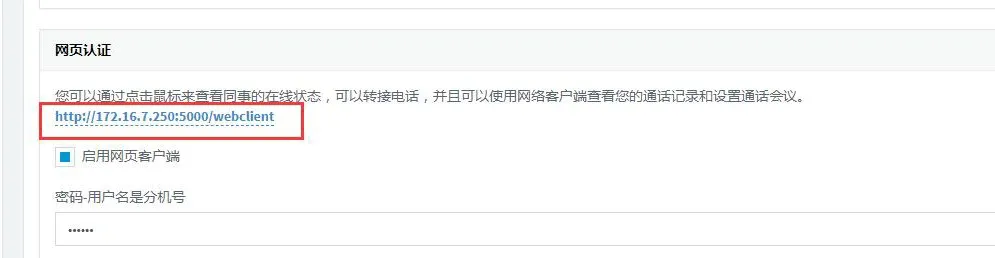
Figure 4.7
Enter the extension number and password on the login interface.
Figure 4.8
Set Status
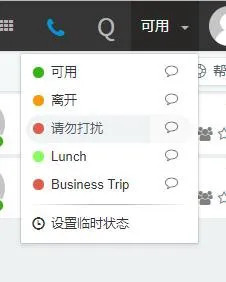
Figure 4.9
Make Calls
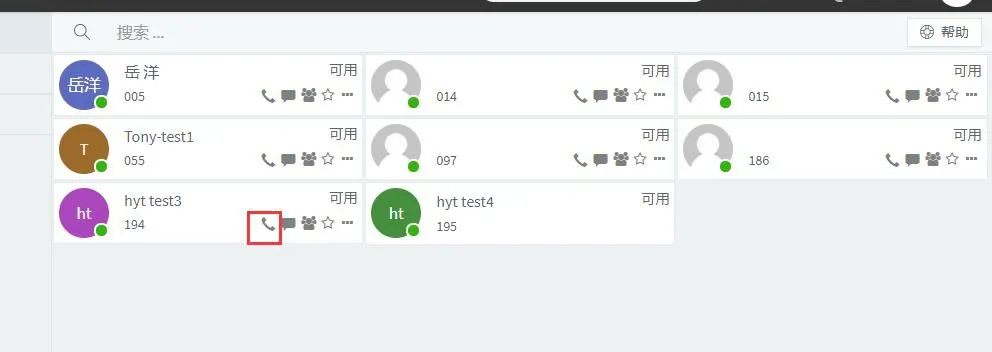
Figure 4.10
Call Operations
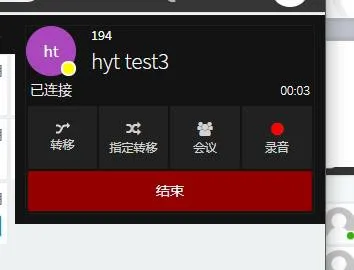
Figure 4.11